
Getting Started
Getting Started with Hextom Timer Bar
Welcome to the Countdown Timer Bar!
The Countdown Timer Bar is a powerful tool that helps create urgency during your store’s sales events. By adding a visible countdown to your store, you encourage customers to act quickly, boosting conversions and driving more sales.
The app supports various timer types, including one-time, auto-recurring, daily, and weekly timers. With multiple timer types and customization options, you can tailor your bar to fit a variety of sales events and promotions.
Creating a Countdown Timer Bar
1. Enable the App Extension (Recommended)
We recommend enabling the Countdown Timer Bar app embed on your Shopify Online Store 2.0 theme — it helps the bar load faster, and it’s required if you want to display the bar only for specific products or customers. See our how to enable app embed guide for the full steps, or click the Enable app embed button on the app dashboard.

2. Click Create New Bar
Click the Create New Bar button from the app dashboard.

3. Select a timer type
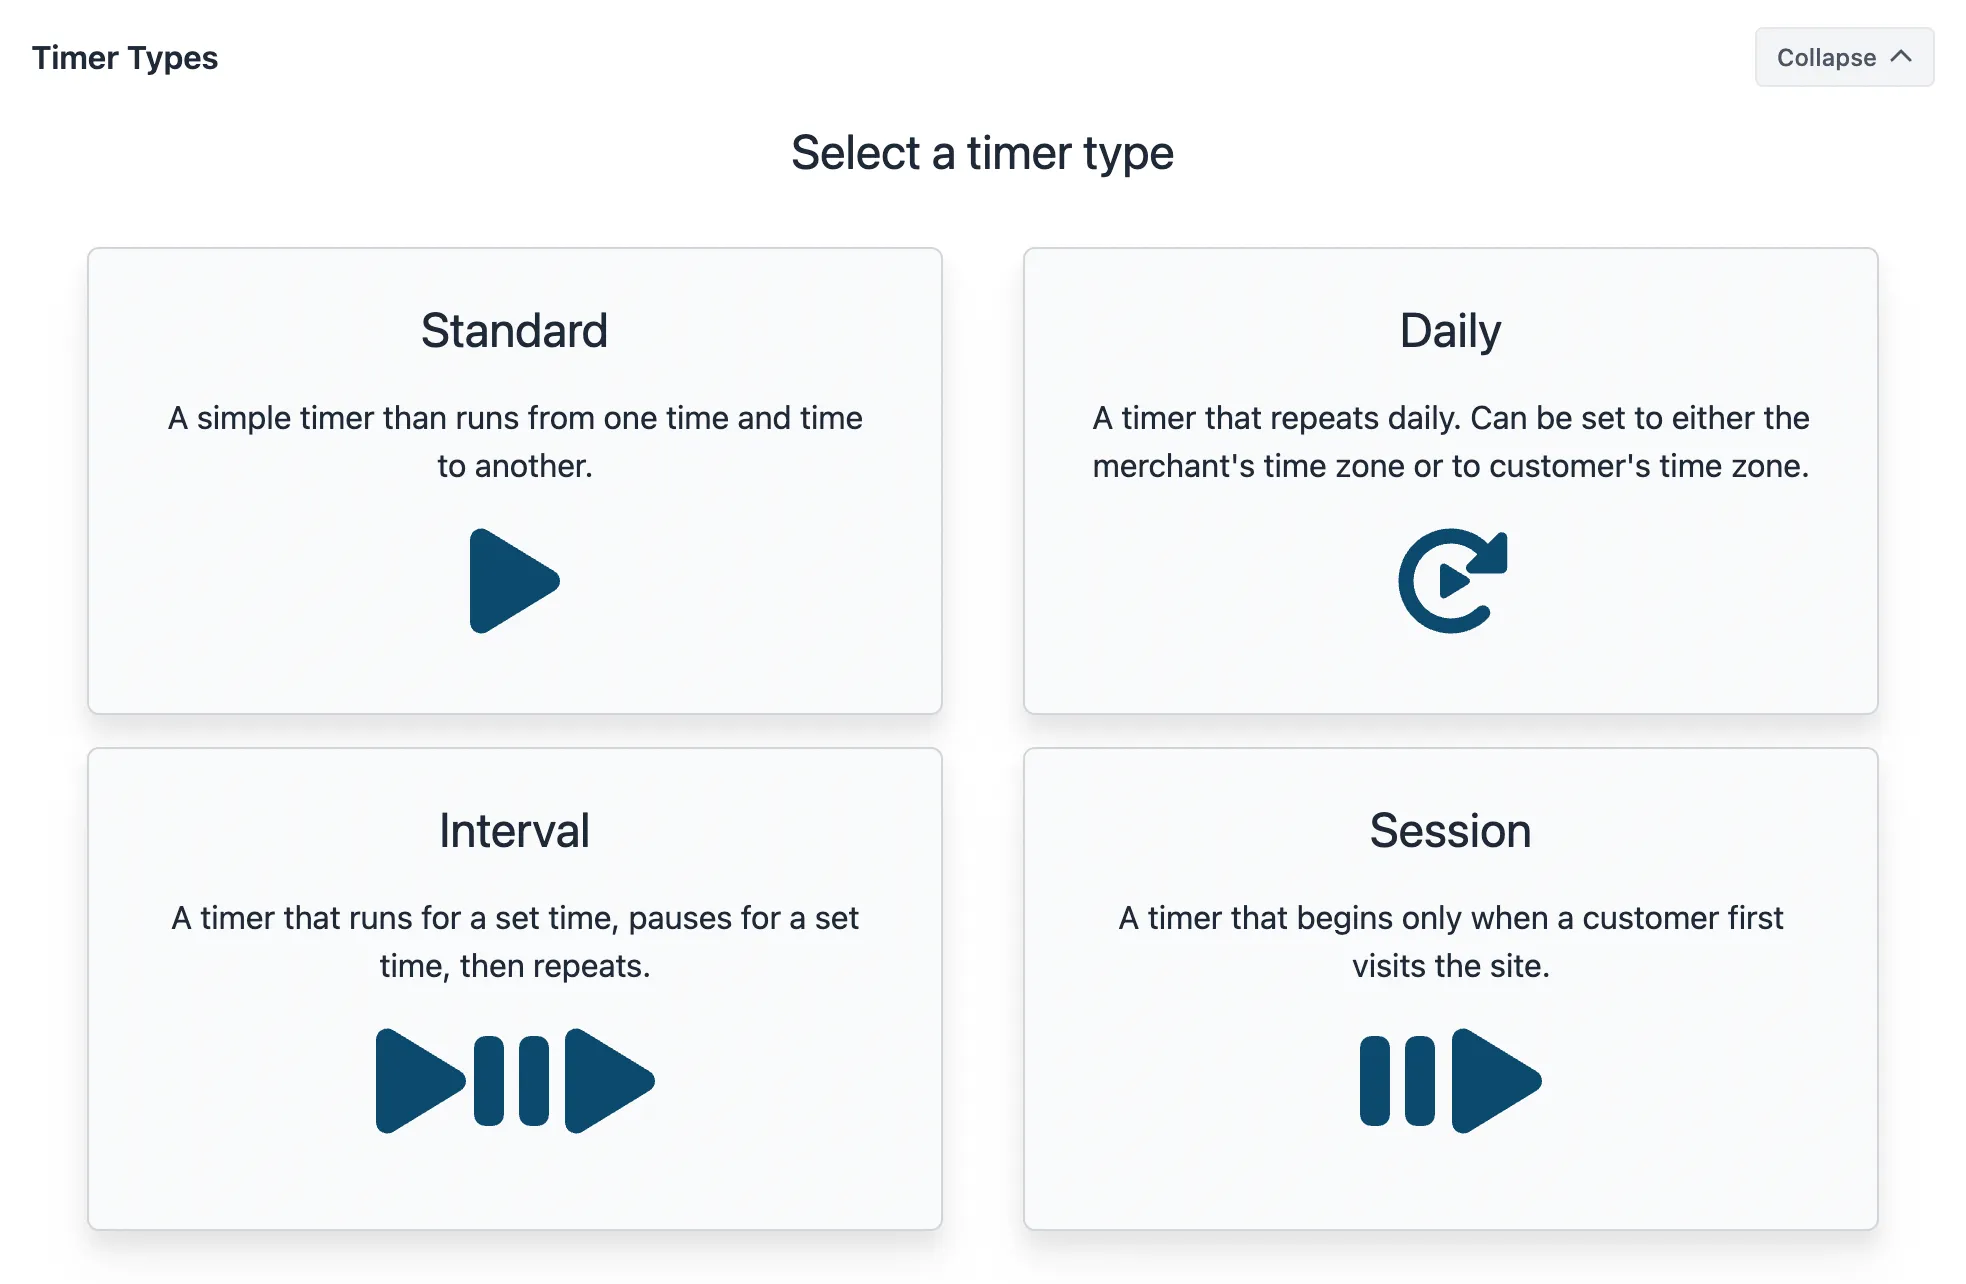
Select the timer type that suits your campaign. Each type has its own behavior:
- Standard: A simple timer that counts down from a start time to an end time.
- Daily: A timer that repeats daily. Can follow either the merchant’s or the customer’s time zone.
- Interval: A timer that runs for a fixed interval, then pauses, and repeats.
- Session: A timer that starts when a customer first visits your site.
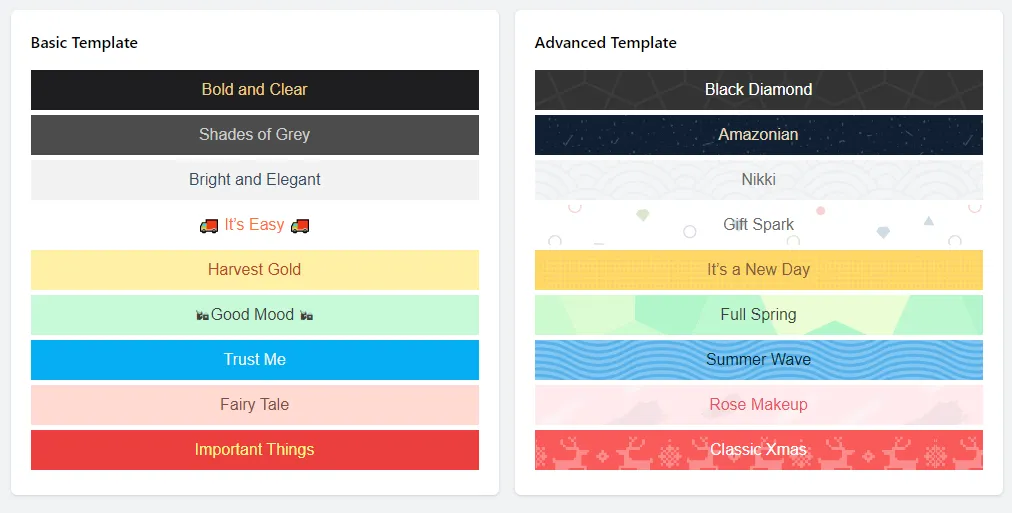
4. Pick a template
Once you select a template, you’ll see a preview of how it will look on your website. (The templates on the right are premium templates and will only save if you’re on the premium plan.)
5. Configure content & style
There are many configuration options offered in the app — here are the ones to focus on first.
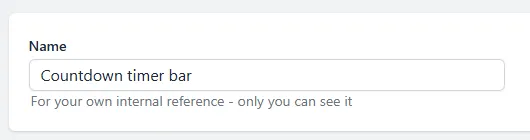
- Name: The name of the bar. Only visible to you.
- Message before & after timer: The message that appears on the bar.
- Show a different message past specific time remaining: Turn this on to switch to a different message once the countdown drops below a threshold you set (days/hours/minutes remaining) — for example, showing “Hurry! Only 2 hours left to save 15%!” only in the final stretch. Use the Primary / Secondary toggle above the message fields to preview each version.
- Call to action: Add a clickable button that redirects customers to a page of your choice when clicked. You can also set Bar Clickable to Make the entire bar clickable to skip the button and make the whole bar link out instead, or to None for neither.
- An optional close button (X) can also be added to your bar.

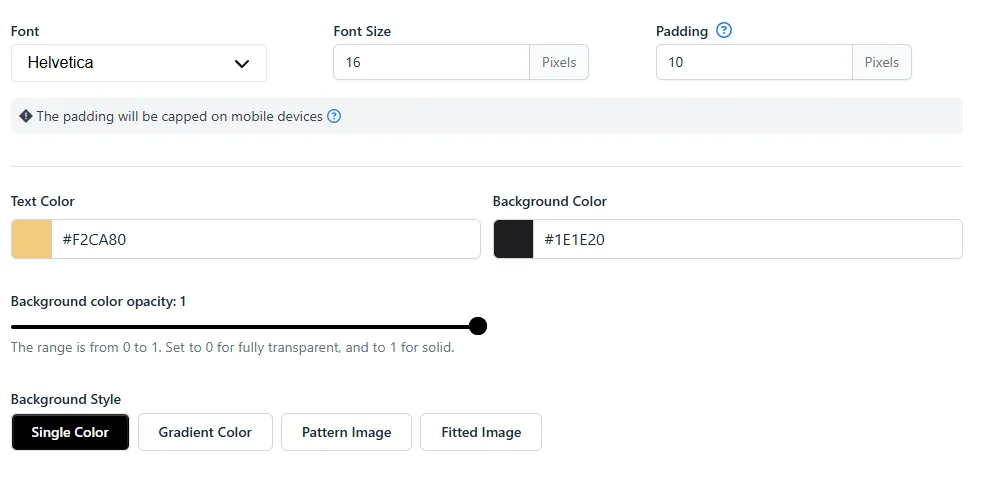
You can also style how the bar looks in the same panel:
- Font Style & Size
- Padding: Space above and below the text. Bar height is affected by font size and padding — padding is capped on mobile devices unless the bar is mobile-only.
- Text Color
- Background Color
- Background Opacity: From 0 (transparent) to 1 (solid)
- Background Style: Single Color, Gradient, Pattern Image, or Fitted Image
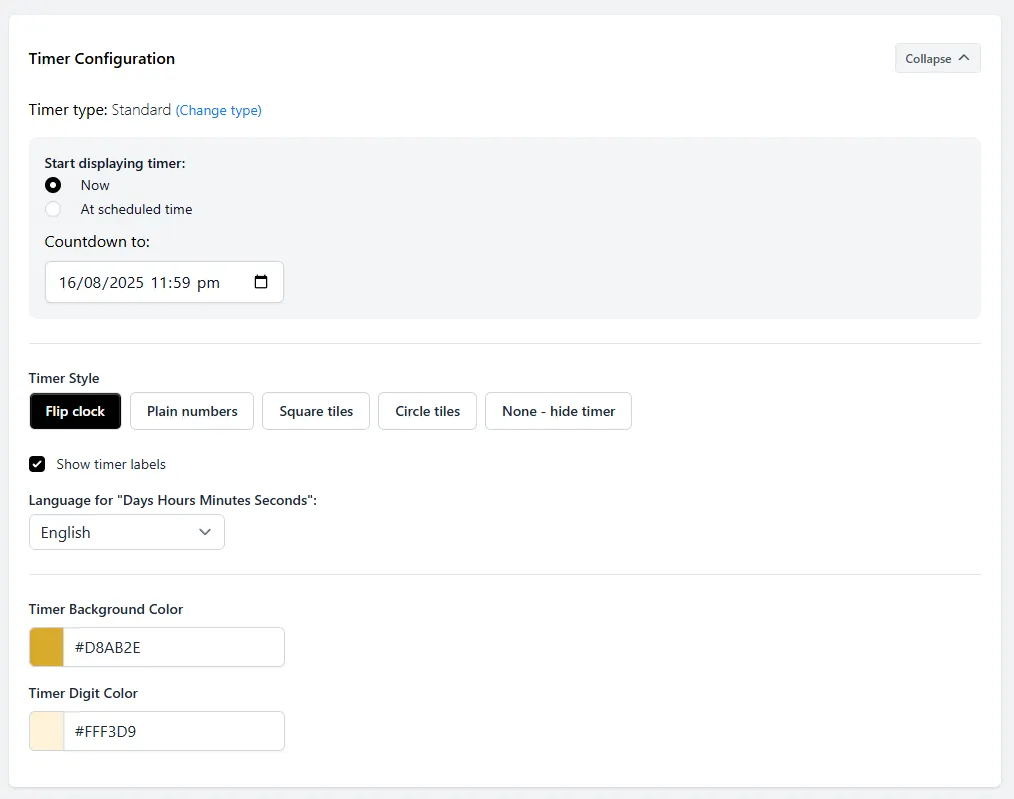
6. Configure the timer
- Change the selected Timer Type
- Set Timer Display Time — display now, or schedule a specific time
- Set the End Time for the countdown
- Choose a Timer Style: Flip Clock, Plain Numbers, Square Tiles, Circle Tiles, or None (hide the timer)
- Enable or disable Timer Labels (Days, Hours, Minutes, Seconds) and choose a Label Language
- Set the Timer Background Color and Digit Color
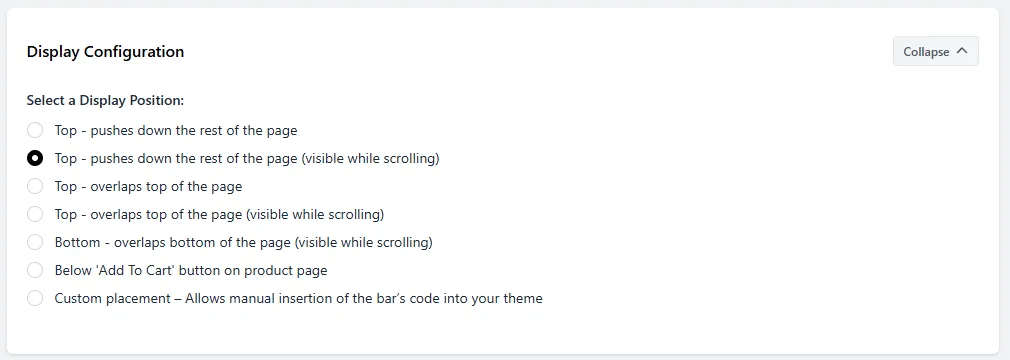
7. Choose where the bar displays
Available positions include the top of the page (with several scroll behaviors), the bottom of the page, below the Add to Cart button on the product page, or a Custom Placement.
8. Save your bar
Scroll to the bottom and click Save.
Making changes to your bar
To edit your bar, return to the app dashboard, locate the bar you want to change, and click Edit.
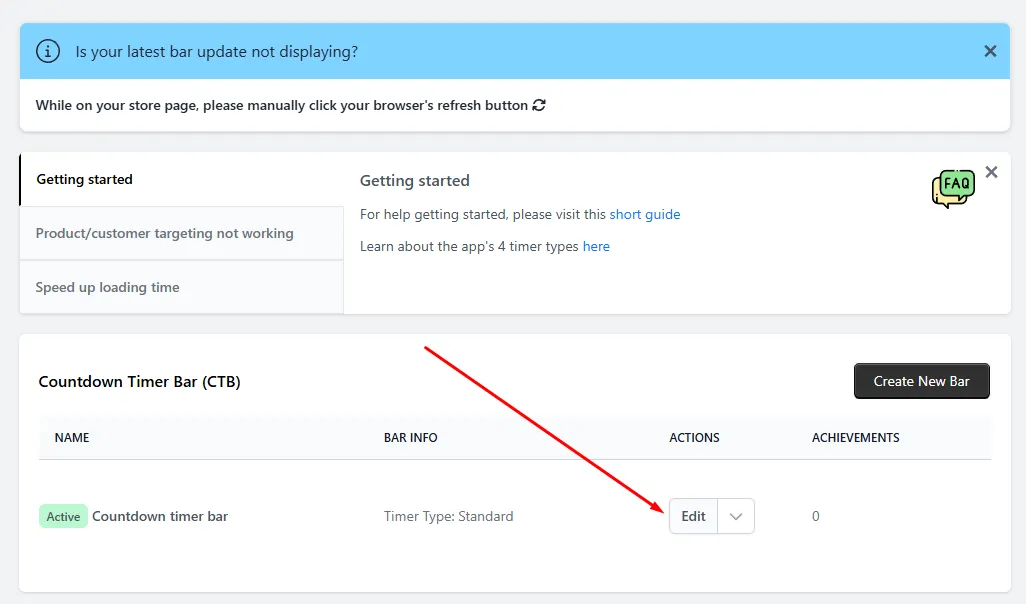
The bar’s configuration will open. Make your changes and click Save again — the update will reflect on your site after a refresh.
There’s a lot more to explore!
Want to explore more advanced features? Check out our guides on timer types, translations, custom placements, targeting your bar to specific pages, devices, or customers, and adding custom code!
If you need help or have questions, don’t hesitate to reach out to us at help@hextom.com!